
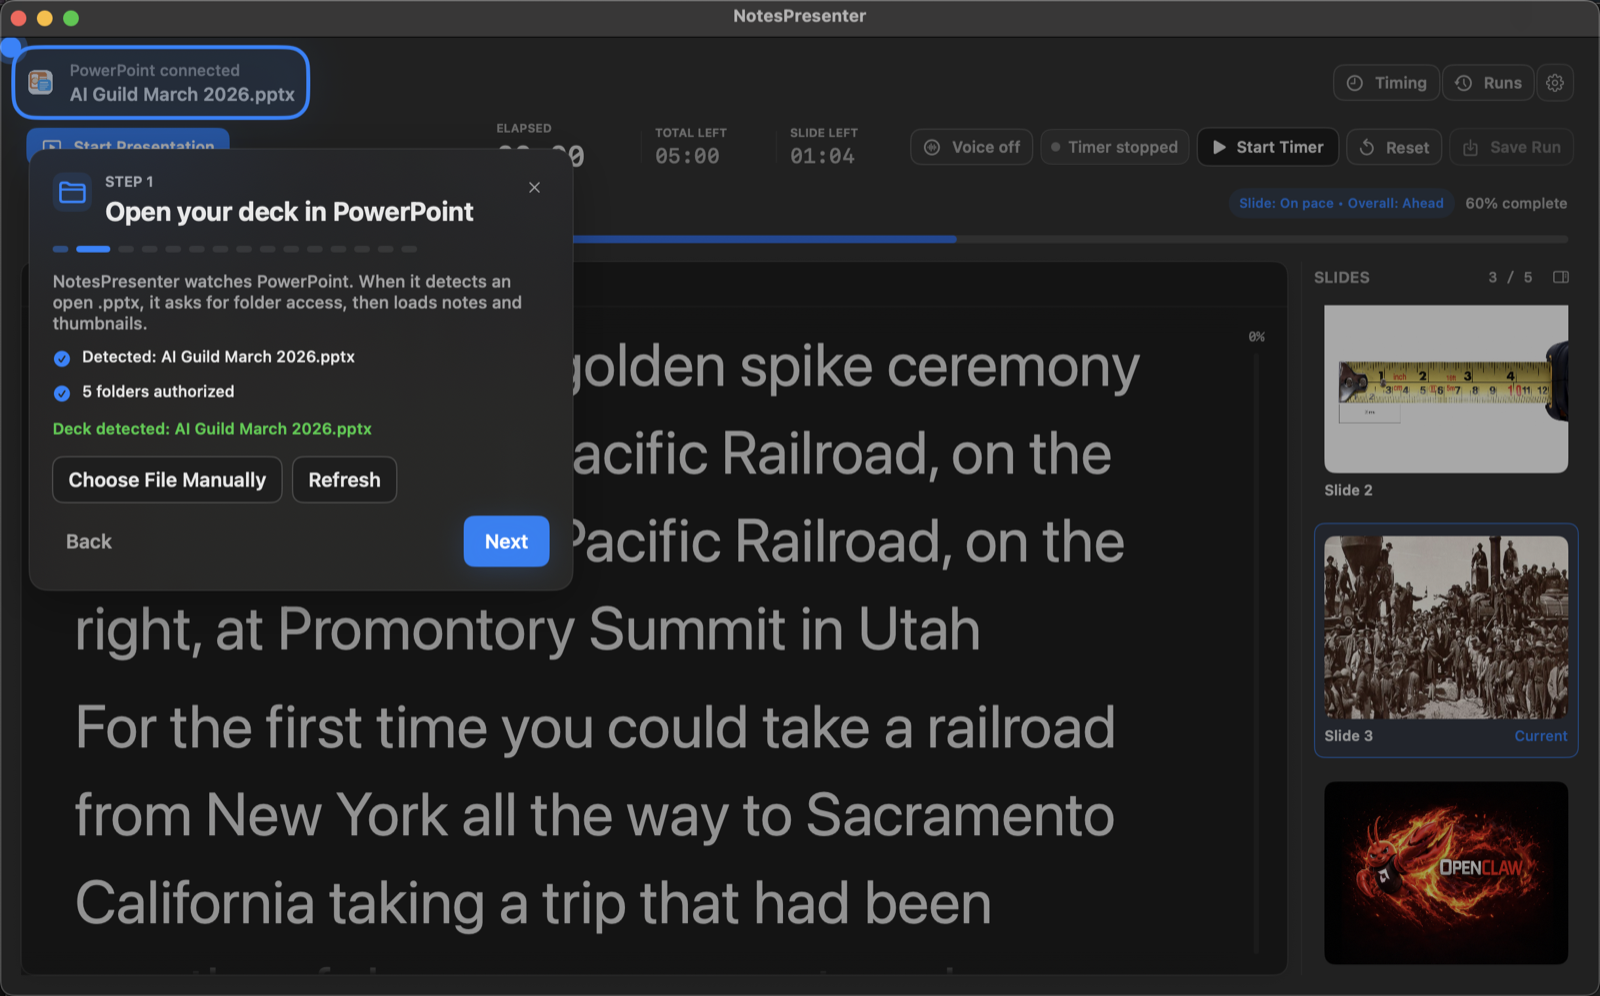
Step 1
Connect your PowerPoint deck
Start by opening a PowerPoint file or connecting to the active presentation so NotesPresenter can read slide notes and thumbnails.
Getting started
The onboarding flow shows how to connect a deck, keep notes private, use tracking support, start presenting, and rehearse timing from one Mac screen.
Onboarding flow
Step 1
Start by opening a PowerPoint file or connecting to the active presentation so NotesPresenter can read slide notes and thumbnails.
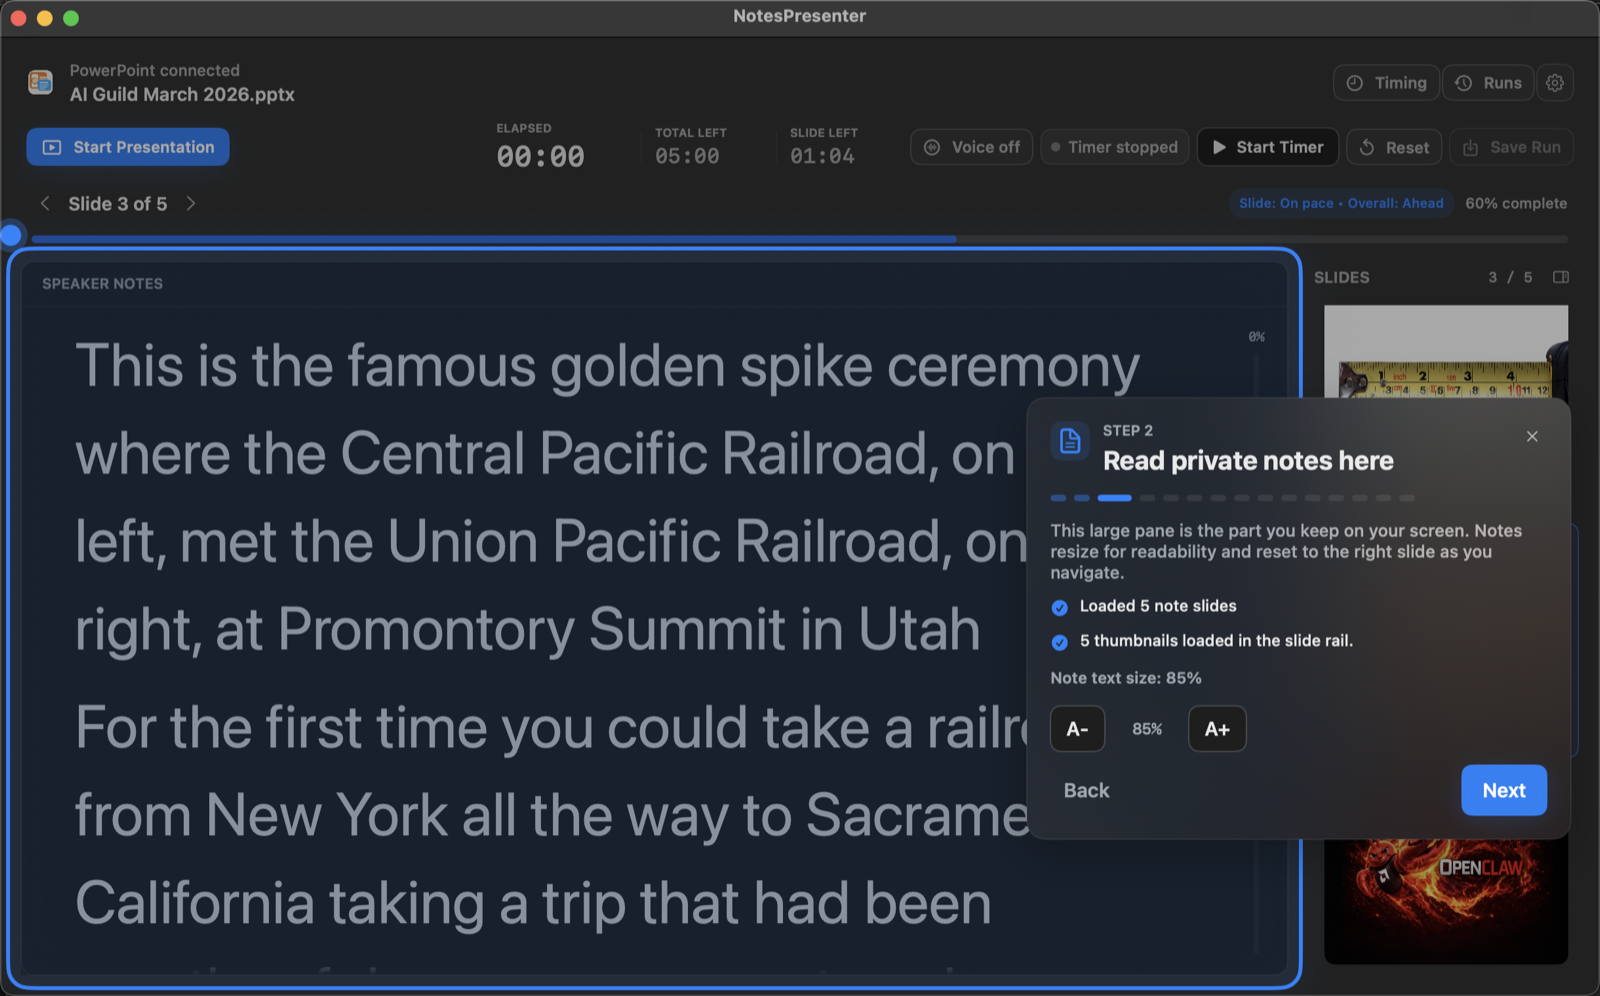
Step 2
NotesPresenter keeps large speaker notes, slide context, and thumbnails in a presenter-only window on your Mac.
Step 3
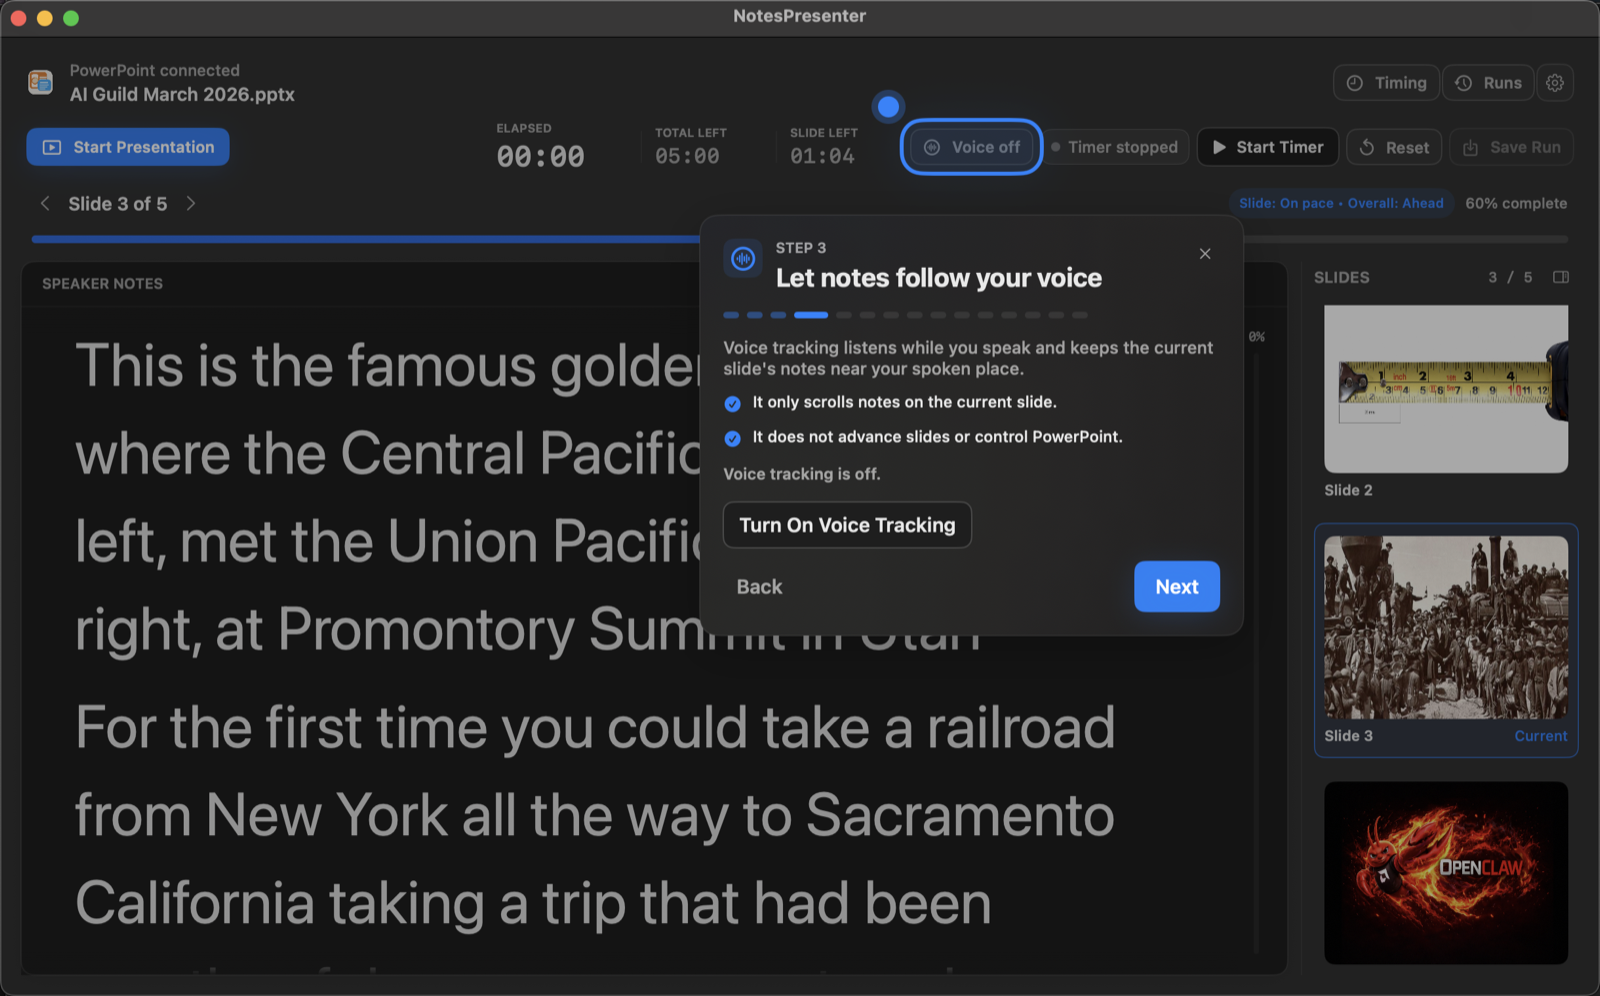
Voice tracking can keep the current slide's notes near your spoken place. It only scrolls notes on the current slide and does not advance slides.
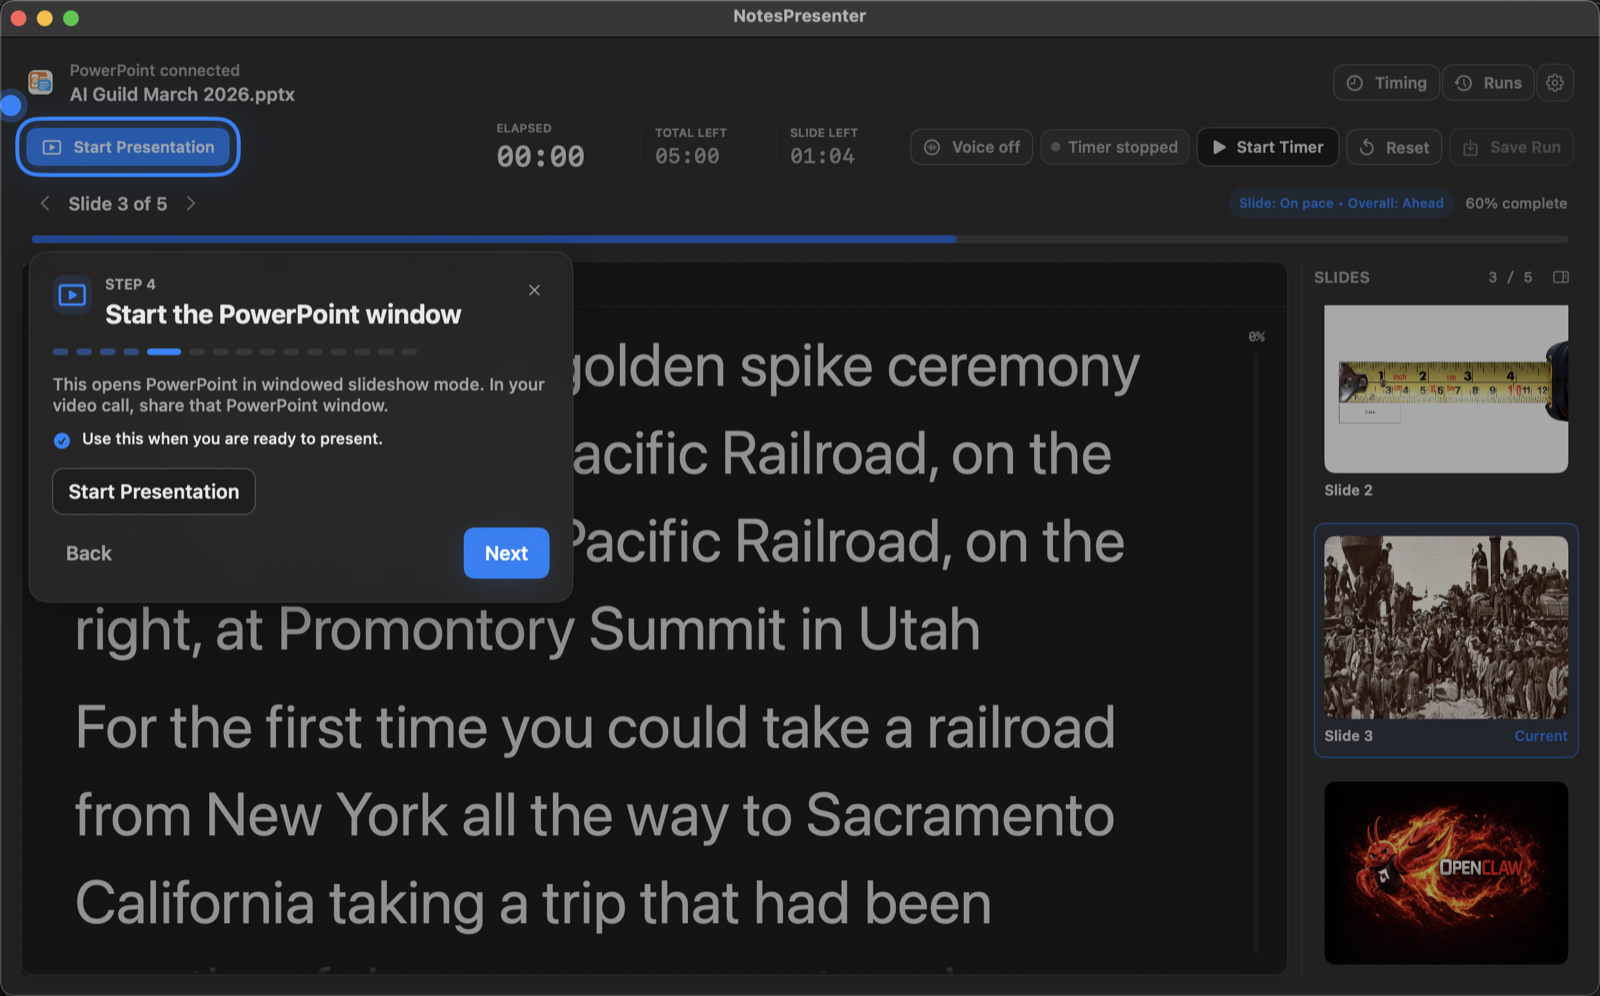
Step 4
Open the PowerPoint slideshow, then share only the PowerPoint window in Zoom, Teams, Meet, or your screen-sharing tool.
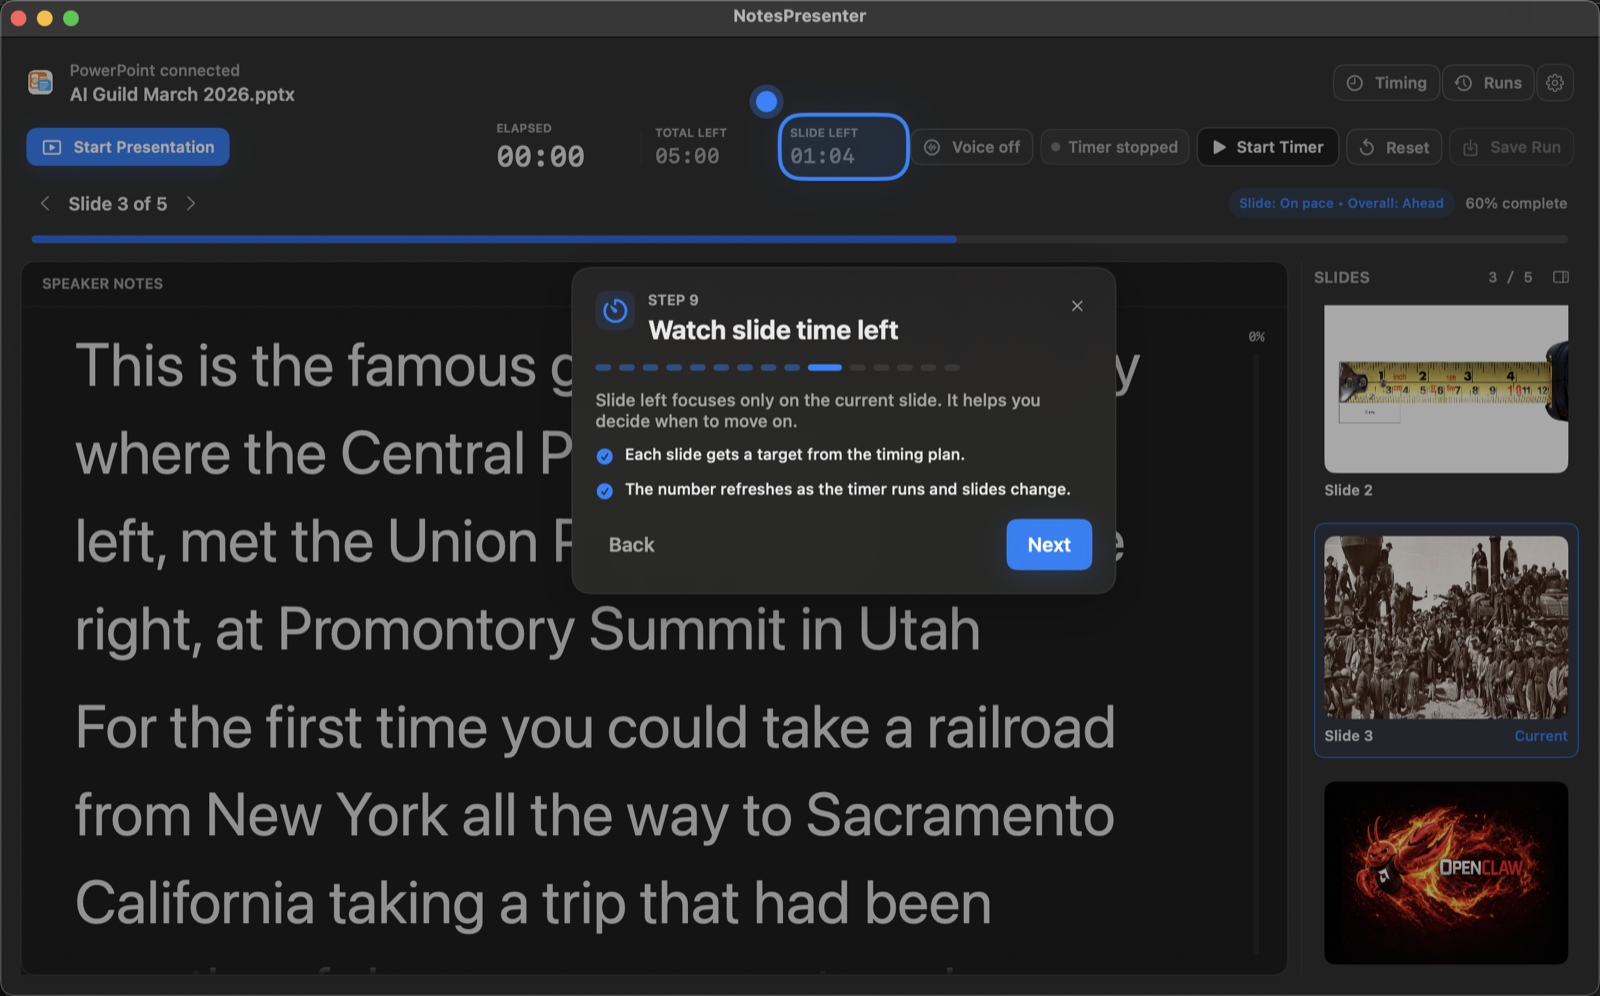
Step 5
During delivery, NotesPresenter shows elapsed time, total time left, slide time left, and pace status beside your notes.
Practice tools
NotesPresenter is not only a notes viewer. The setup flow points presenters toward timing plans and saved rehearsal runs before a live talk.
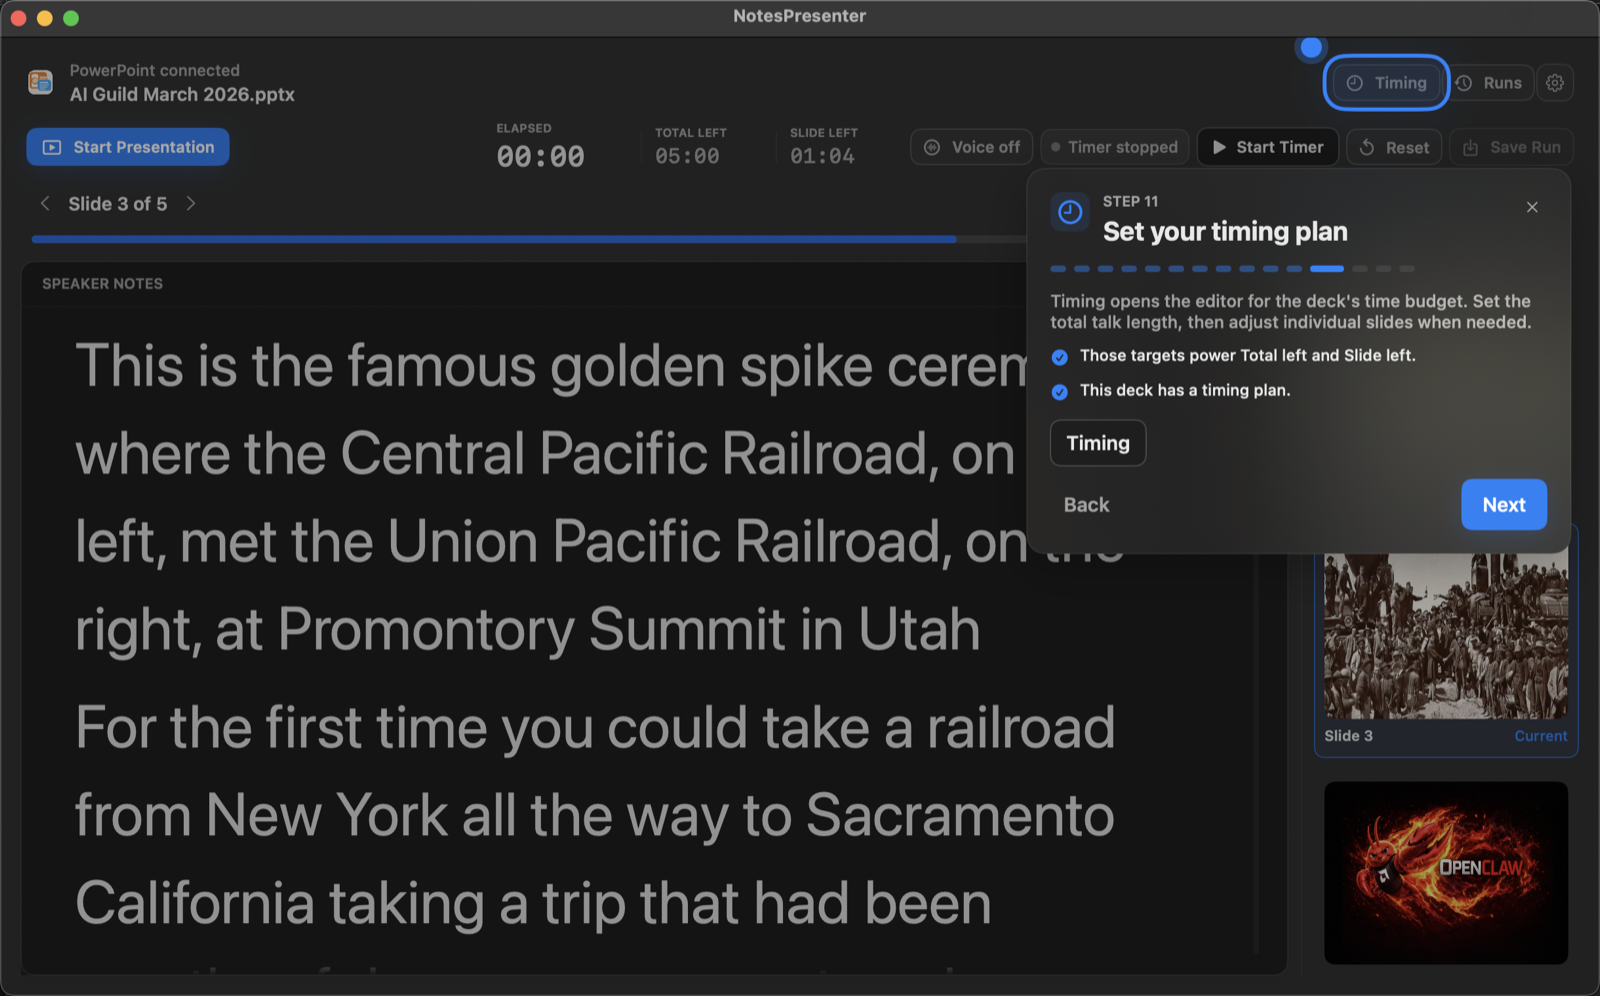
Set a total target time, review per-slide targets, and adjust timing before the presentation starts.
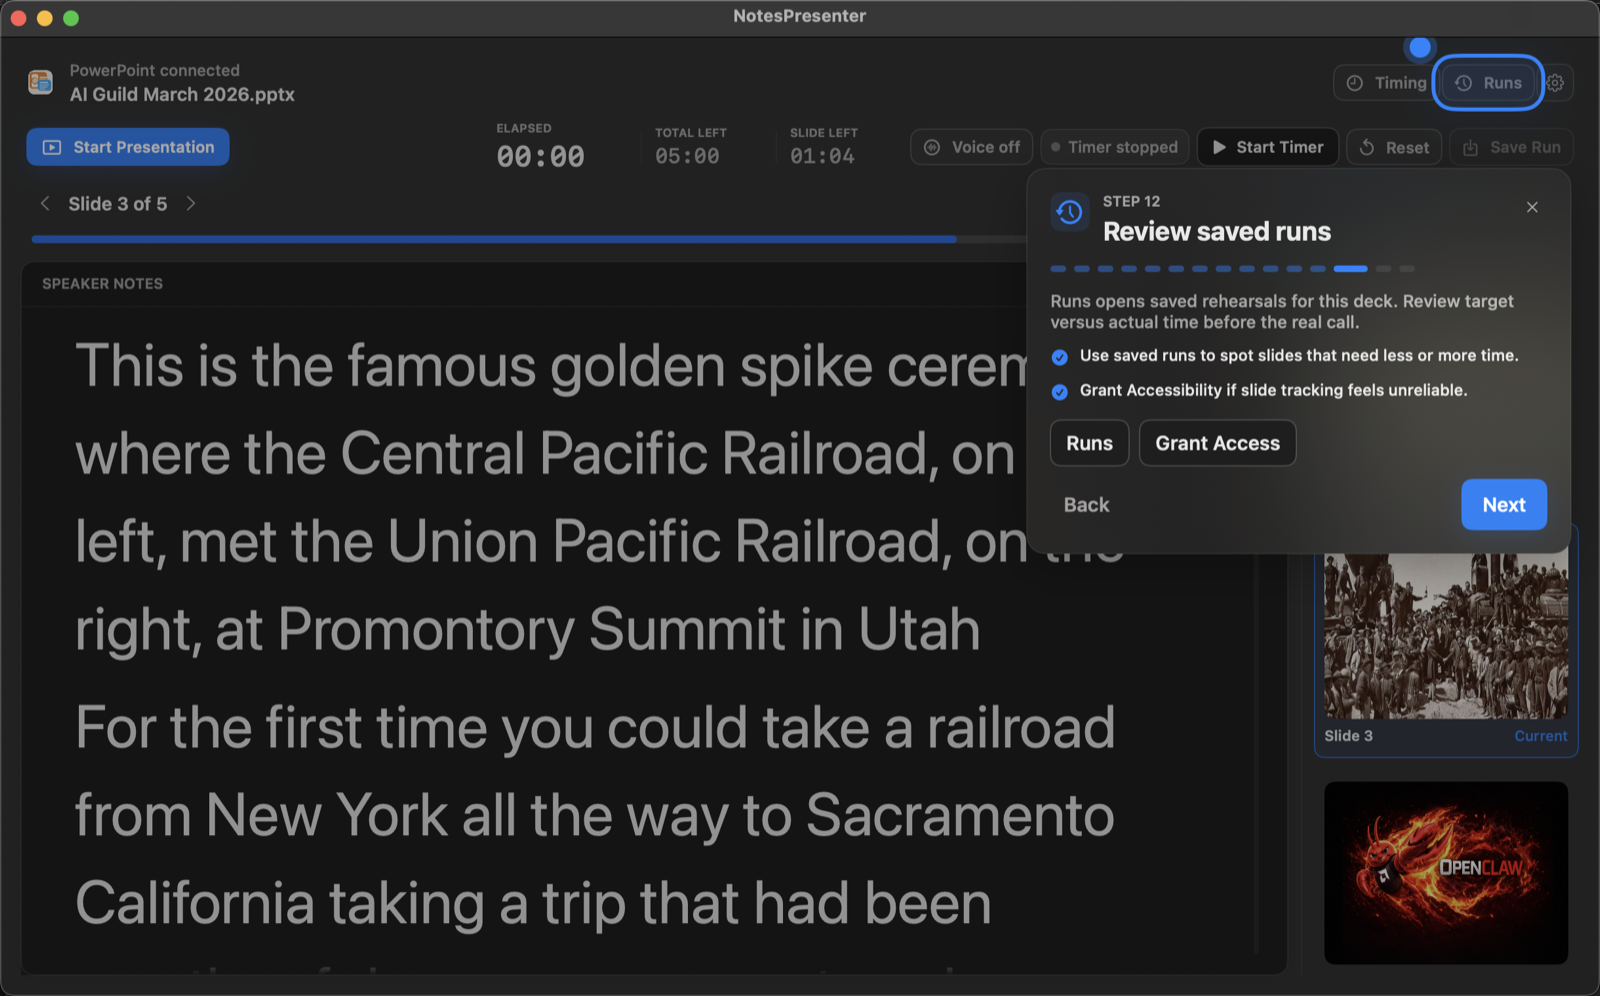
Save rehearsal runs and compare target time with actual time so the next delivery is more predictable.
FAQ
No. The onboarding flow is built around a one-screen Mac setup where PowerPoint is shared separately from the private NotesPresenter window.
No. Voice tracking only helps keep notes near your spoken place on the current slide. It does not advance slides or control PowerPoint.
Yes. Onboarding is there to explain the workflow. The core app can be used directly once your deck, notes, and timing setup are familiar.
Download NotesPresenter, connect a PowerPoint file, and follow the onboarding flow before your next presentation.